Home > > Operation Guide
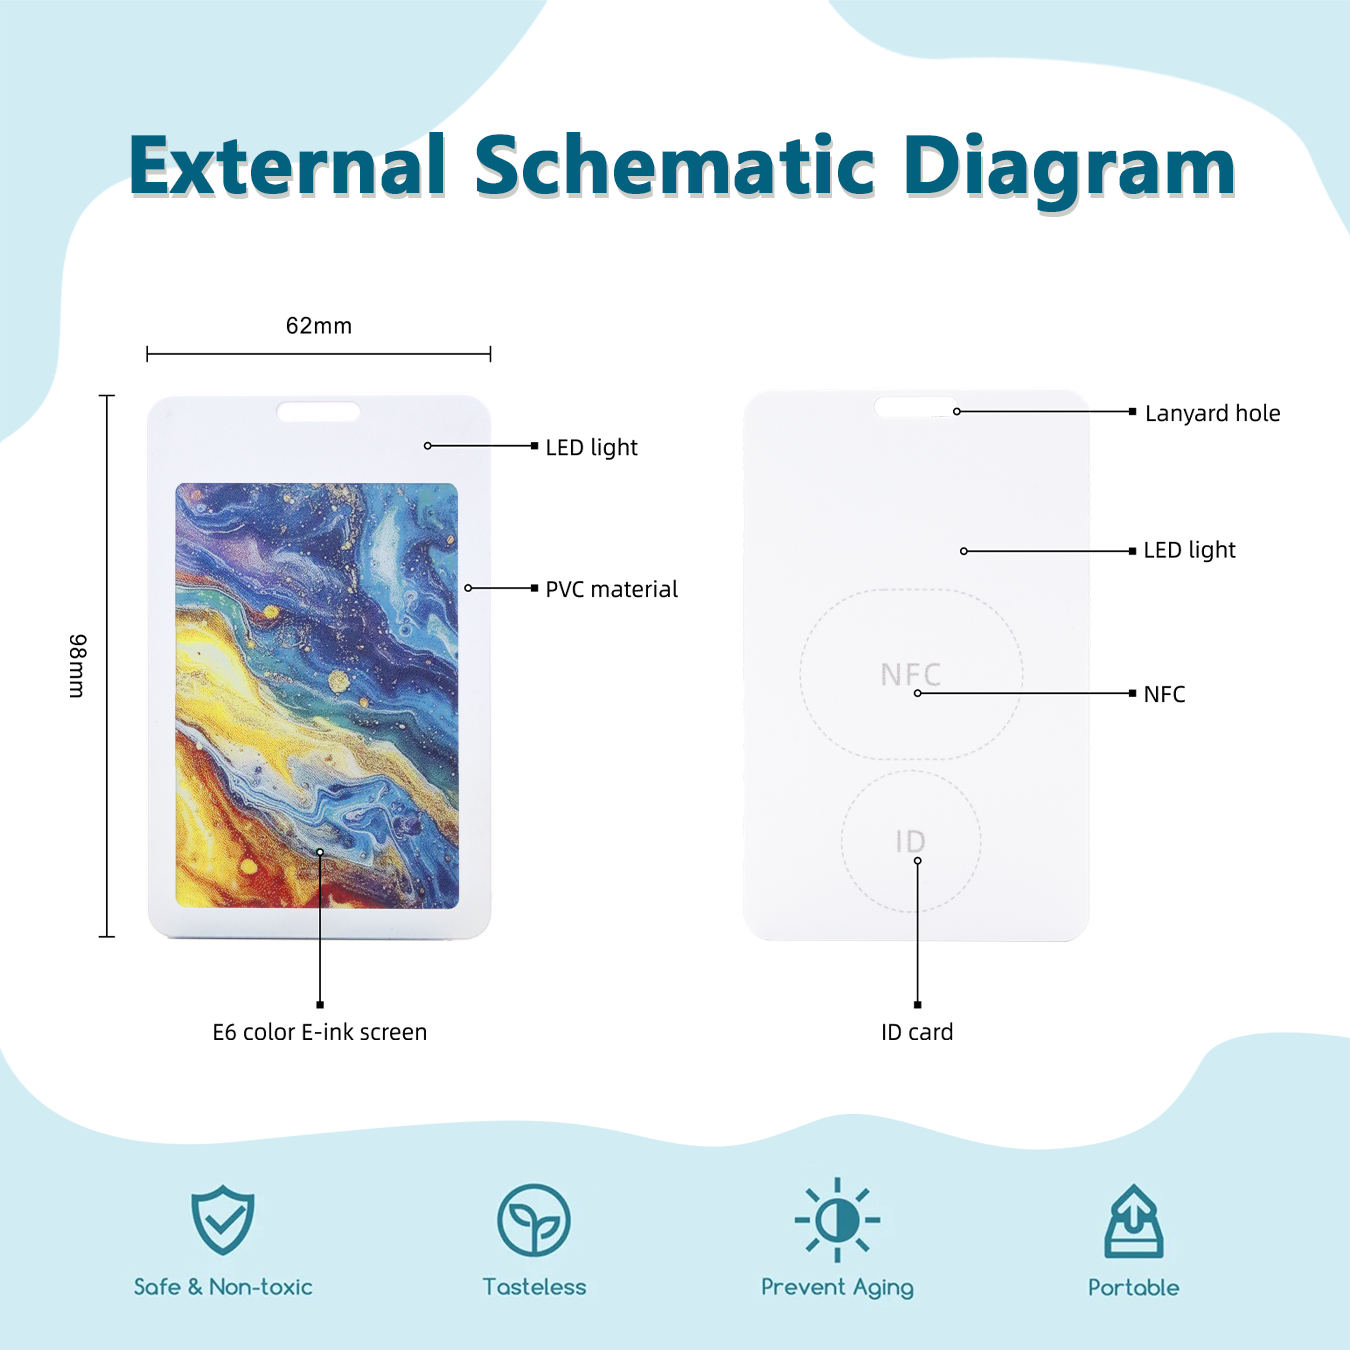
Key Features:
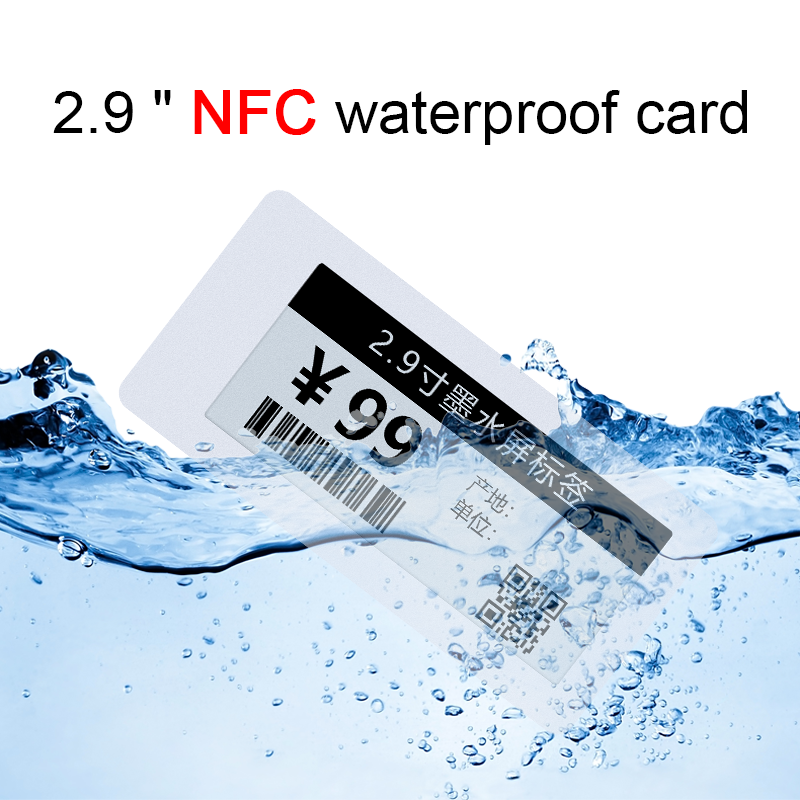
Passive ultra-thin NFC card: Requires no power supply, with over 1 million rewrites and a long service life
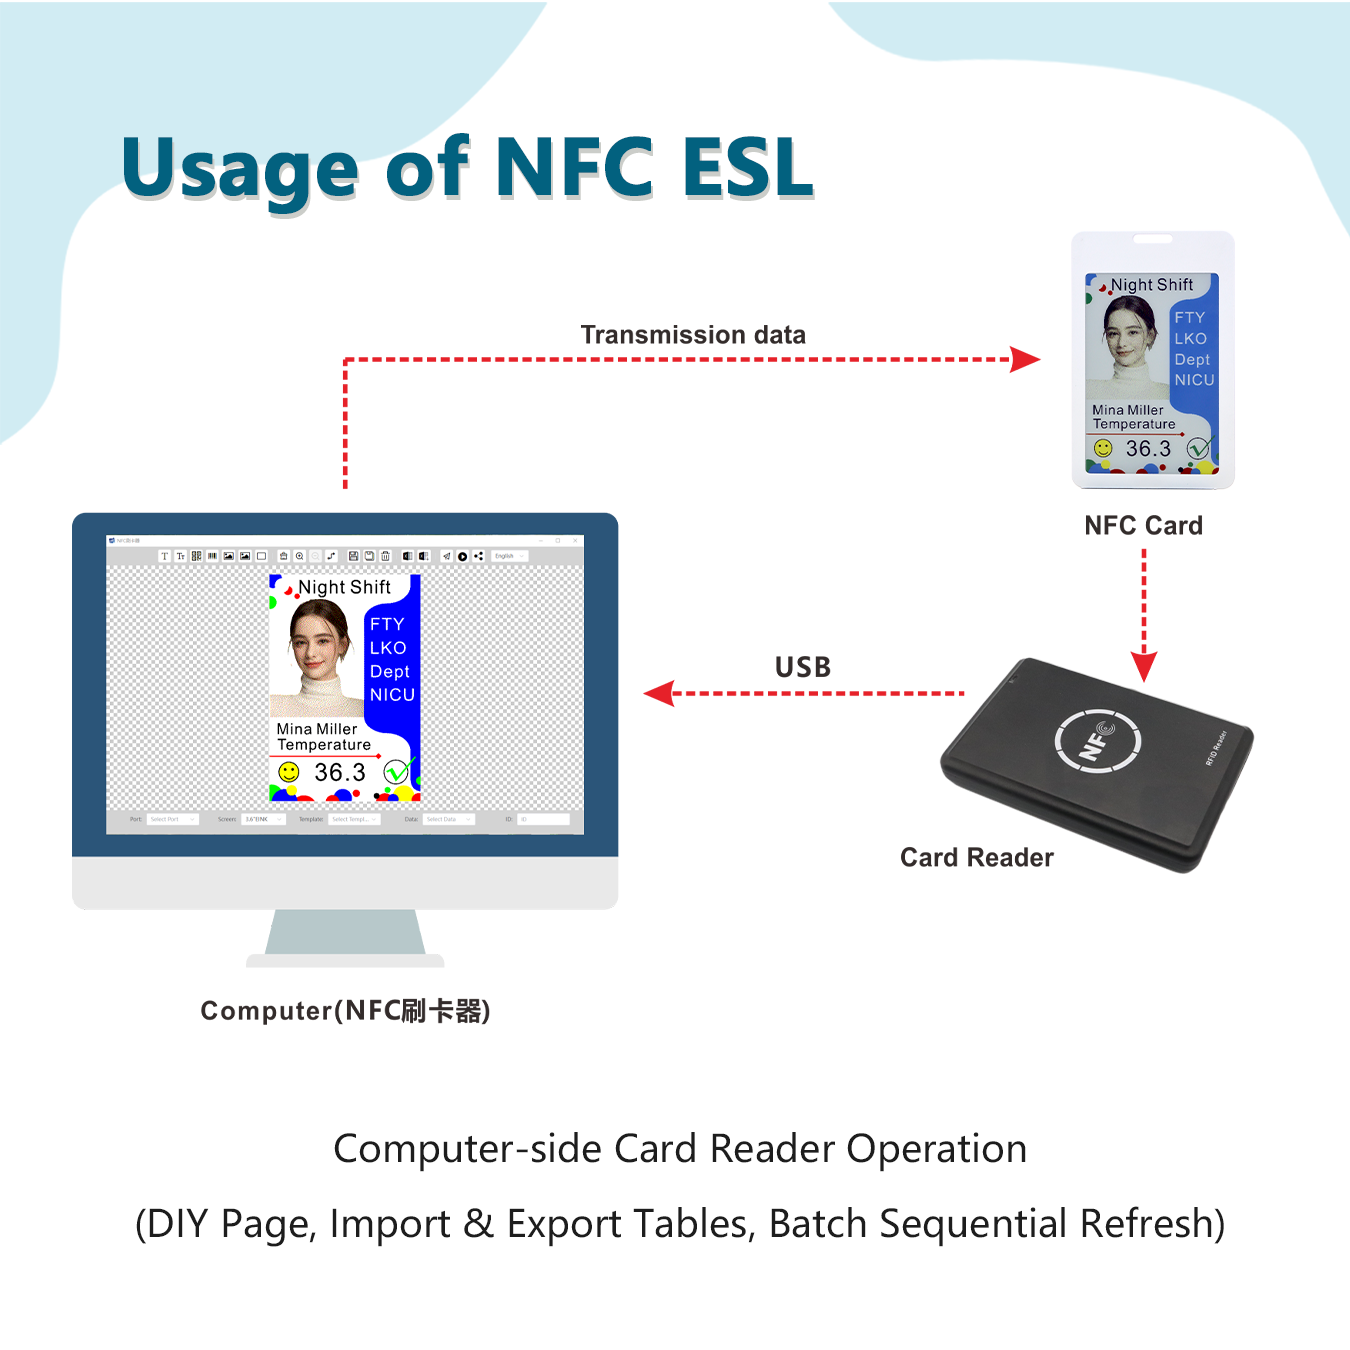
Data exchange functionality: Supports data interaction; must be used with a dedicated card reader
Template customisation: Supports text, barcodes, QR codes and images; allows for DIY design
Built-in rewritable ID card: Supports rewriting via the device; compatible with corporate access control systems
Mobile User Guide
1.APP Installation Guide
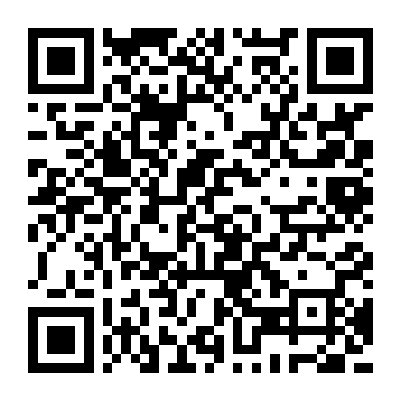
Android phones: Use your browser to scan the QR code, download the APK file, and install it
iPhone: Search for ‘NTAG’ in the App Store
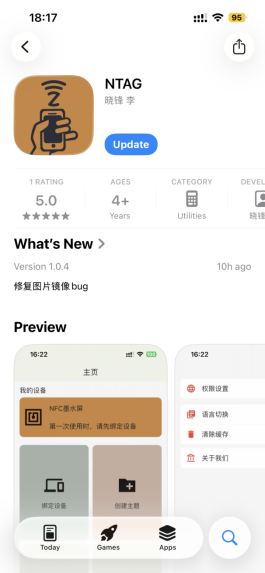
NFC Screen Flooding Operation Process
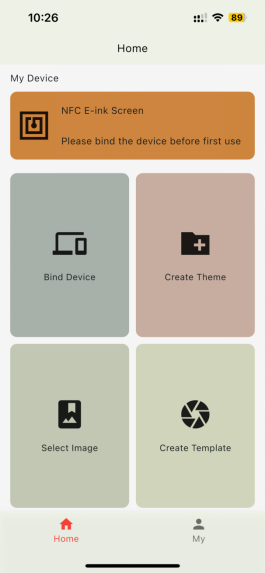
Step 1: Bind the device (mandatory for first-time use)
Open the installed NTAG, enter the home page and click "Bind Device" to prepare for the device binding operation.
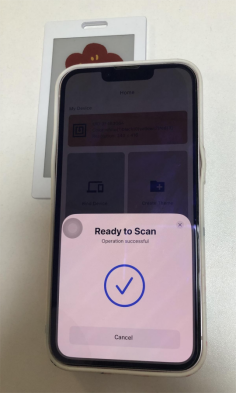
Step 2: Complete the binding
Bring your mobile phone close to the NFC center of the device, and the system will automatically scan and complete the binding.
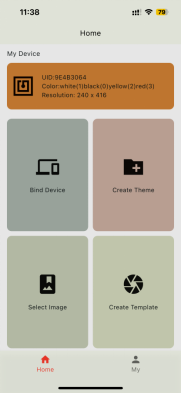
After successful binding, the page will display device-related information (such as UID, colors: white (1), black (0), yellow (2), red (3), resolution: 240×416).
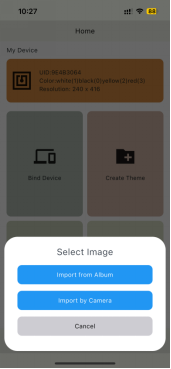
Step 3: Select the picture
After binding the device, click "Select lmage", which supports two ways to import pictures. After making your selection, click the check button in the upper right corner of the picture to confirm.
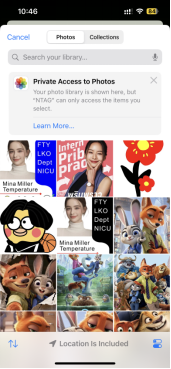
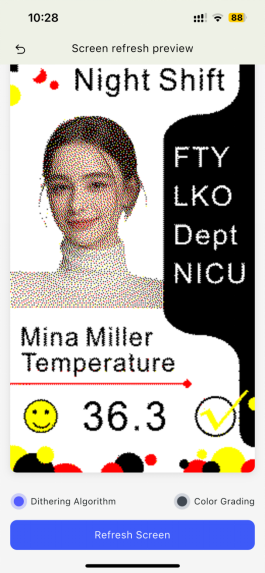
Step 4: Select the algorithm and prepare to refresh
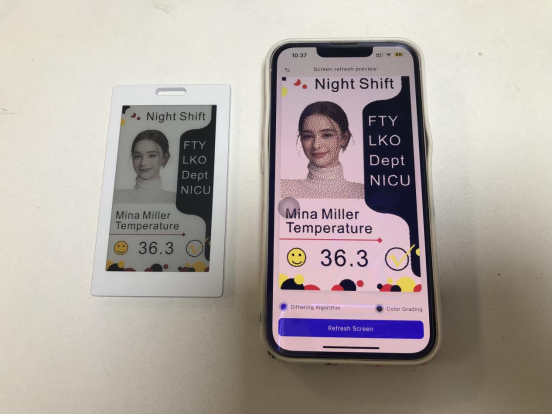
By default, the "Dithering Algorithm" is used. You can switch to the "Color Grading" as needed. For screen preview, click "Refresh Screen".
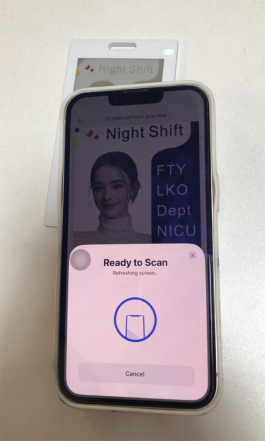
Step 5: Complete the screen refresh
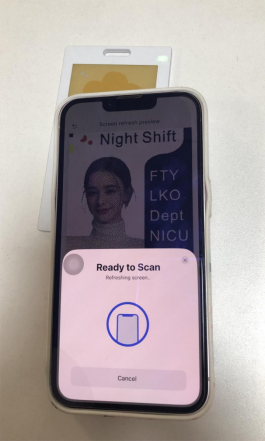
Bring your phone close to the NFC center of the device again. The system will display "Refreshing screen".
Once it prompts "Operation successful", the entire screen refreshing process is completed.
https://youtube.com/shorts/tjCAq0dpC5o
 EN
EN
 FR
FR
 JA
JA
 RU
RU
 ES
ES